This Blog is created based on GitHub webpage, and powered by
Hexo.Hexois an open source Blog personal blog framework which allow people to build their own Blog. I believe there are a lot of introduction of how to build personal blog withHexoon GitHub, but I still want to share the process that how I build my personal blog with that.
Start my own Blog – Build Blog with Hexo:
Preparation
Because I’m using Windows system on my personal laptop, so I will particularly introduce the way to build the blog with Windows system locally and deploy it on GitHub
In order to start a new blog with Hexo on GitHub, we need to install Node.js first which allow us to install Hexo with npm and create a new GitHub Repositories with [Your GitHub Name].github.io as the Repositories name
1 | npm install -g hexo-cli |
And after that, you should add it into PATH
After download Hexo, you can select a folder to initialize you own Blog locally with:
1 | Hexo init |
After that, you will have some files in the folder, plz don’t push those files into your GitHub Repositories, the only thing you need to do is change the _config.yml file’s deploy with:
1 | deploy: |
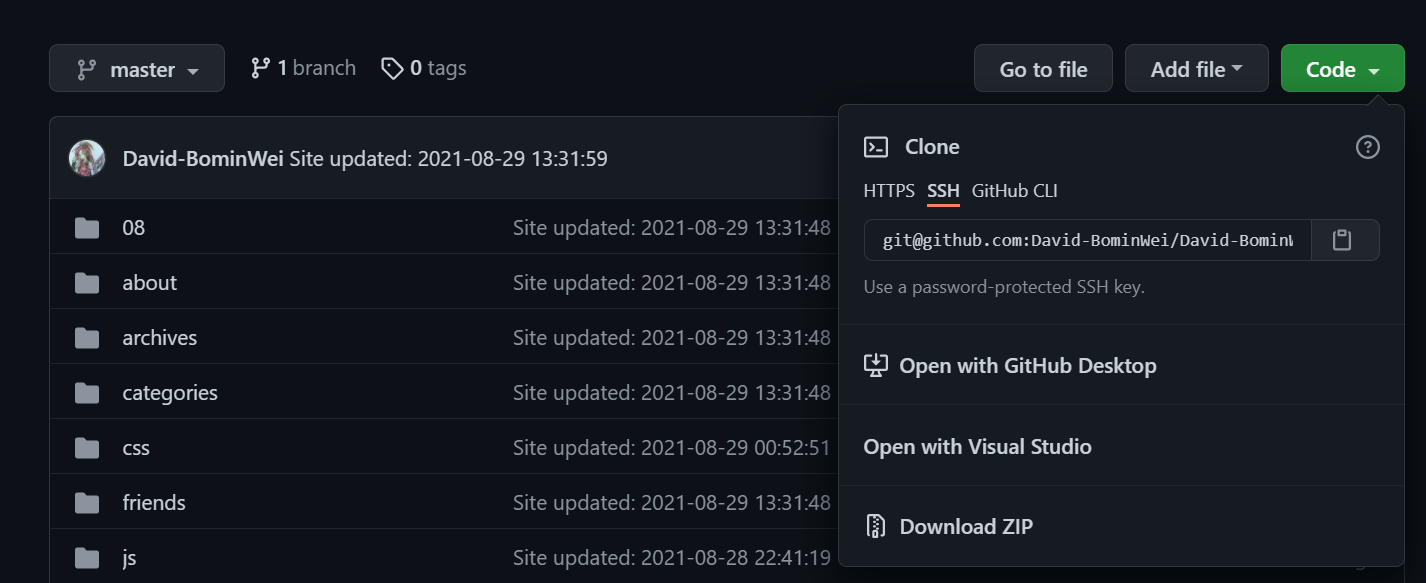
You may notice that the repository block above should be the Webpage that you can clone your GitHub code, I’m using SSH to clone and push the code, and I also recommend you to use it:

After change the settings on .yml file, we can push the website into the GitHub page with:
1 | # clean the original page and generate the new page with |
